Inviting Agents & Role Permissions
By following this guide, you will learn how to create roles and invite agents to your workspace efficiently, ensuring a smooth onboarding experience for your team and clear access control from day one.
Creating Roles
Before agents can be invited, roles must be created first. Roles define what agents are allowed to see and do in Askyura, such as handling conversations, managing bots, accessing channels, or viewing reports. Assigning roles during the invitation process helps prevent permission issues later and reduces the need for manual adjustments after agents join.
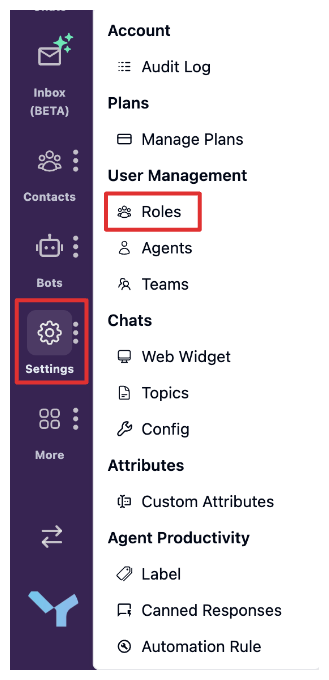
Step 1: Open Role Management Settings
Go to Settings from the main navigation, then select Roles.
Step 2: Create a New Role
Click the Create New Role button to start defining a new role for your agents.

Step 3: Define Role Details
Enter a Role Name and add a short description to explain the purpose of this role.
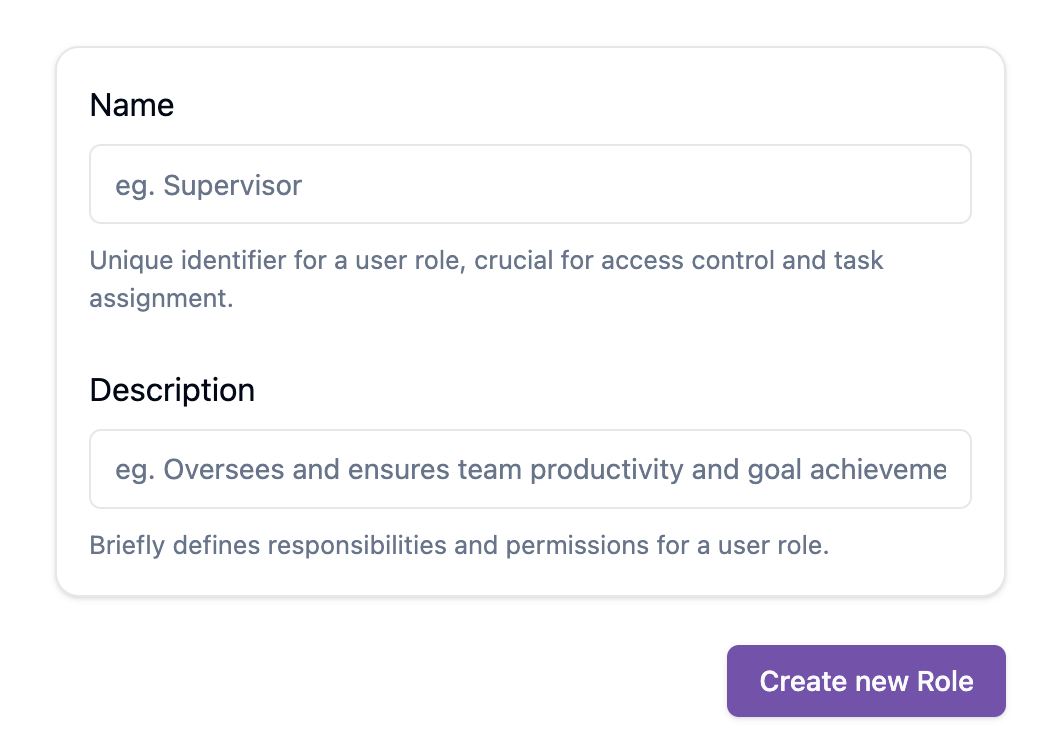
After you filled all the field, click Create new Role Button
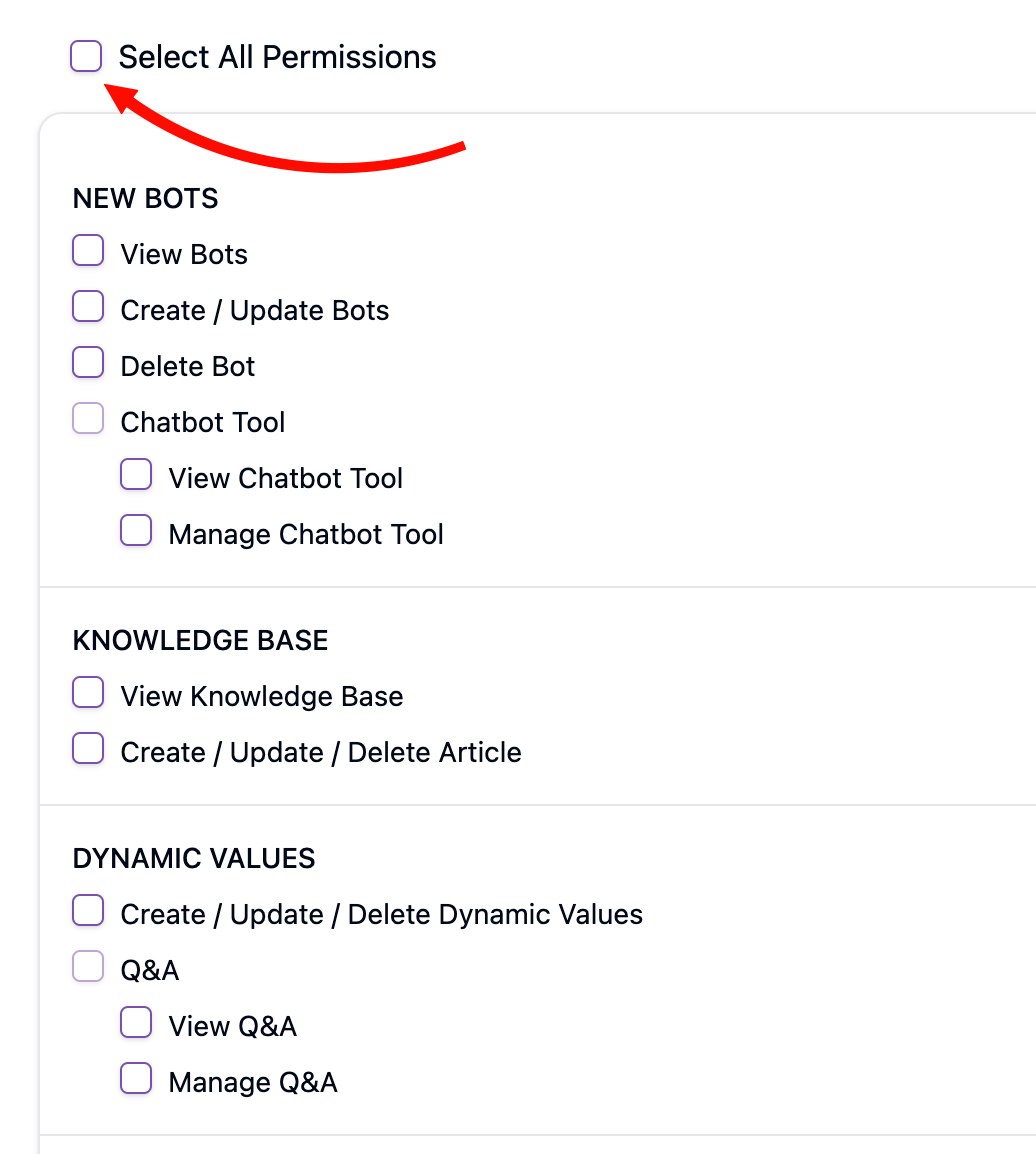
Step 4: Configure Permissions
Select the permissions that define what agents with this role can access and manage in Askyura. Each permission controls access to specific features, helping you align agent responsibilities with the right level of access.
To make setting permissions easier we provide 2 features:
-
Shortcuts: Click a shortcut to move directly to the section of the permissions you want to select.

-
Select All: If you want this role to have all permissions, simply check Select All Permissions.
Step 5: Save the Role
Click Save to finish creating the role. The role will now be available when inviting agents.

Inviting Agents
Step 1: Open Agent Management
You can access agent management in two ways:
- Go to Settings > Agents.
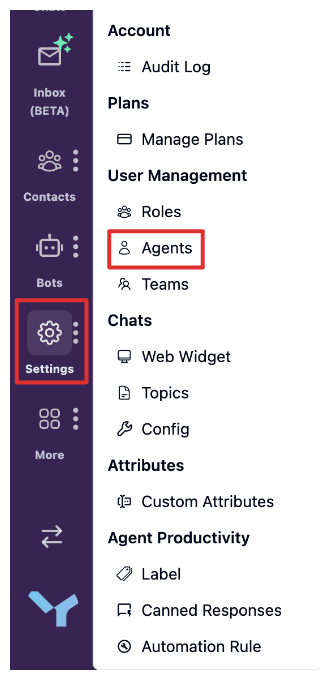
- Click Invite Agent directly on the homepage.

If you choose option 2, you can skip to Step 3.
Step 2: Start Inviting an Agent
Click the Invite Agent button to begin the invitation process.

Step 3: Fill in Agent Details
Enter all required information for the new agent.
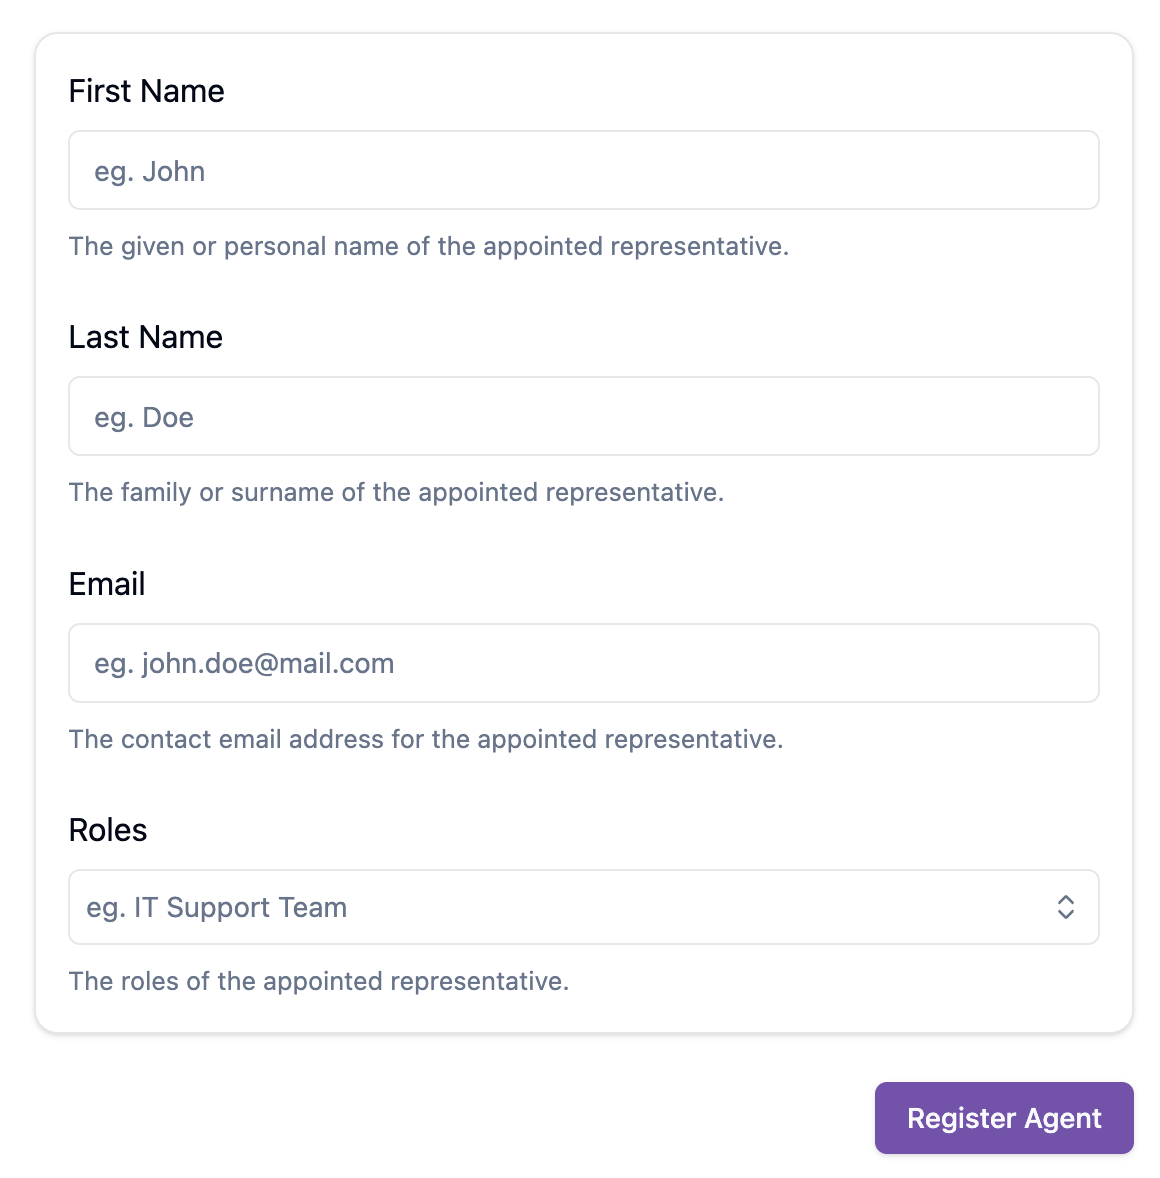
Once all fields are filled, click Register Agent to send the invitation. The system will display a confirmation like this:
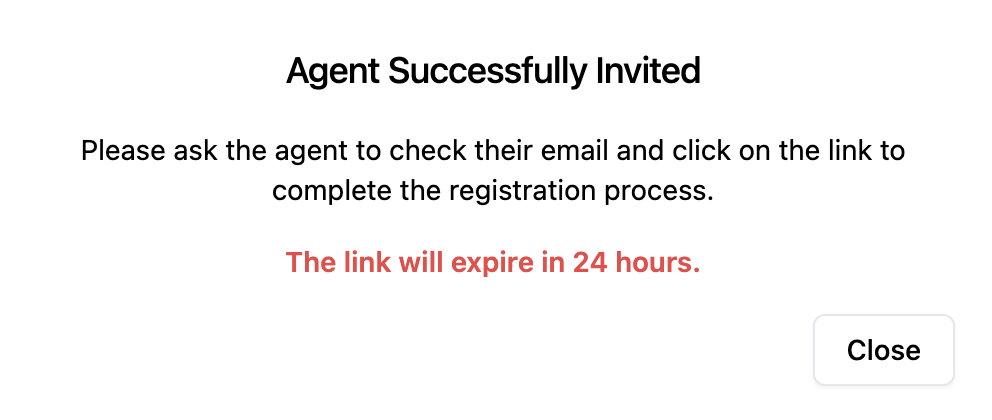
This indicates that the invitation has been successfully sent.
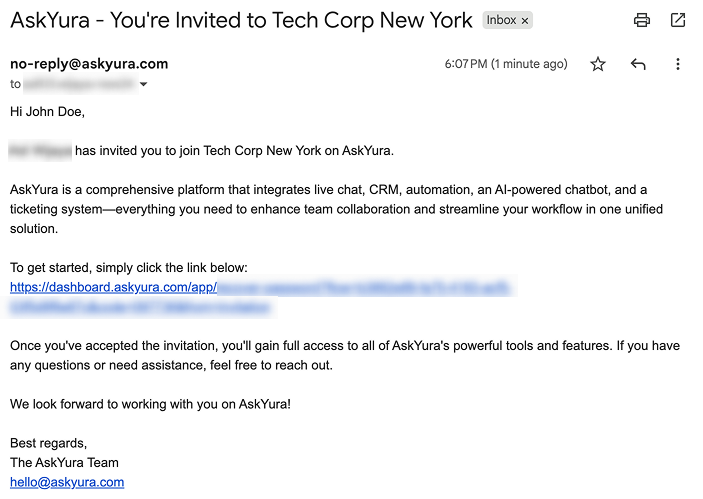
Step 4. Agent Email Notification
Ask your agent to check their email. They will receive an email from **no-reply@askyura.com** with the subject:
"AskYura – You're Invited to [workspace name]"
They can follow the instructions in the email to join the workspace.
After your agent successfully accepts the invitation, they will be added to your workspace and can start collaborating immediately.
