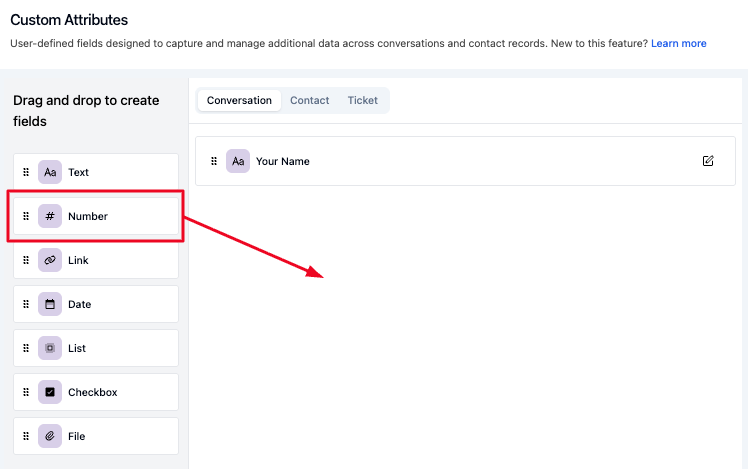
Custom Attributes
Custom Attributes allow you to add custom fields to conversations so you can track additional data that is specific to your business workflow. Instead of relying only on the default fields, custom attributes let you capture and organize information that matters most to your team.
Custom Attributes Overview
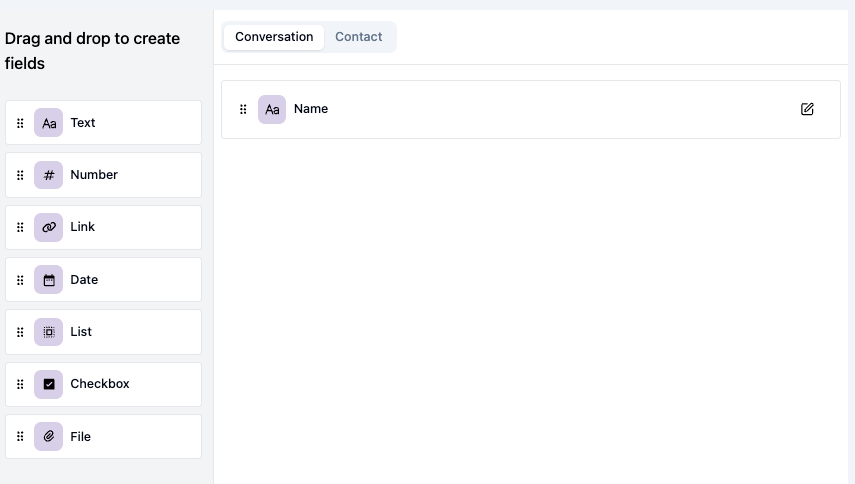
The main view displays all custom attributes configured in your workspace.
The table displays the following columns:
| Column | Description |
|---|---|
| Name | The display name of the custom attribute |
| Type | The data type of the attribute (e.g., Text, Number, Date, Dropdown) |
| Actions | Options to edit the attribute |
The data type consist of:
- Text: A single line text field. Accepts letters, numbers, and symbols. Best for brief inputs.
- Number: Accepts numeric input only. Ideal for tracking values that require calculations or filtering.
- Link: Stores a full URL. The value must include the proper format, such as
http://orhttps:// - Date: Allows customers to select a specific calendar date.
- List: A dropdown with predefined single select options. One level only (no nested choices).
- Checkbox: A single checkbox used to represent a yes/no or agree/disagree response. Suitable for simple confirmations.
- File: A field type that allows customers to upload files.
Using Custom Attributes
There are 2 types of attributes, namely contact attributes and conversation attributes.
-
Contact Attributes
This attributes are used to store information that is specific to a customer and remains consistent across multiple interactions. These will update the customer's contact details in your system when submitted.
-
Conversation Attributes
This attributes are used to store information specific to a particular interaction or conversation with a customer. These attributes help categorize and manage the current support session.
Once created, custom attributes appear in conversation details where agents can fill in the relevant values. This data can then be used for:
- Bot context — Allow the bot to access custom attribute data for more personalized responses
Managing Custom Attributes
Creating a Custom Attribute
To create a new custom attribute:
-
Drag the type from left and drop to right page
-
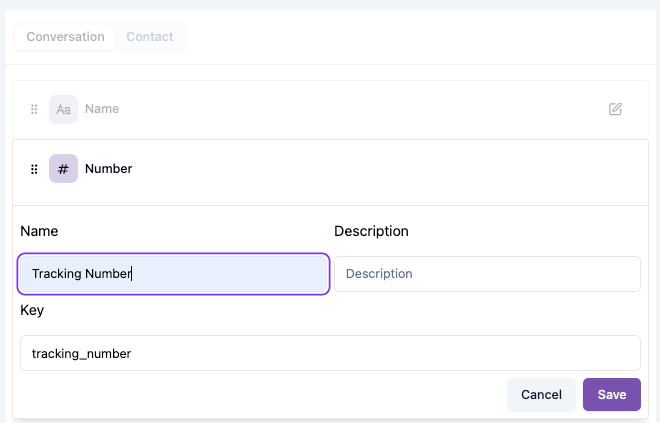
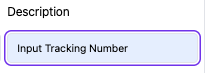
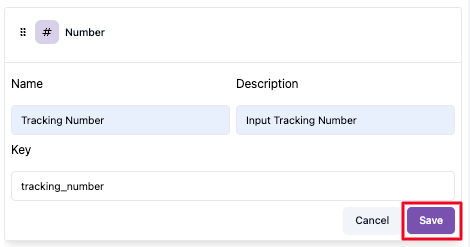
Enter a Name that clearly describes the data this attribute captures (e.g., "Order Number", "Subscription Tier", "Region").
-
Define the Key — a unique identifier used internally.

-
Configure any additional options based on the selected type (e.g., dropdown options).
-
Click Save to create the attribute.
Editing an Attribute
Click the Edit action on any attribute to update its name and description. Existing data associated with the attribute is preserved when editing.
Deleting an Attribute
Click the Delete action to remove an attribute. This will also remove the associated data from all conversations.
Plan your custom attributes carefully before creating them. Think about what data your team needs to capture during conversations and how it will be used for filtering, reporting, or automation. A well-organized set of custom attributes makes your workflow more efficient.
